Whitworth standard wire gauge
- Made:
- 1869 to 1897 in Manchester


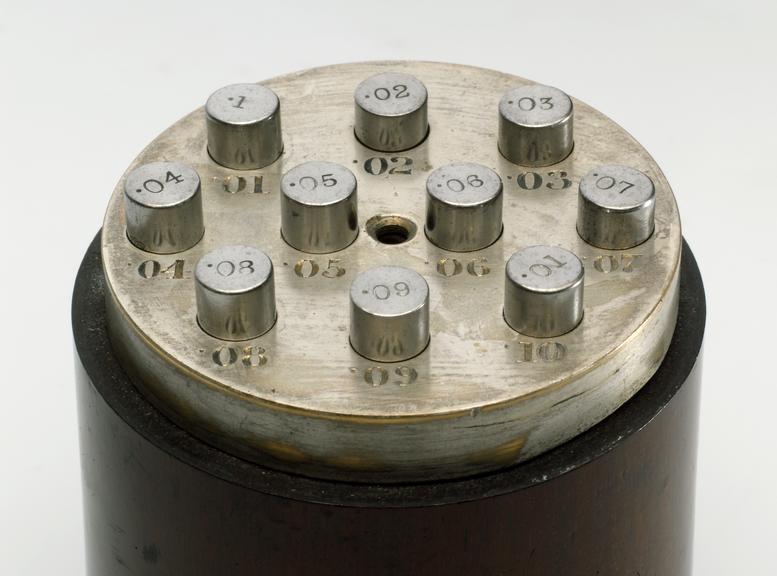
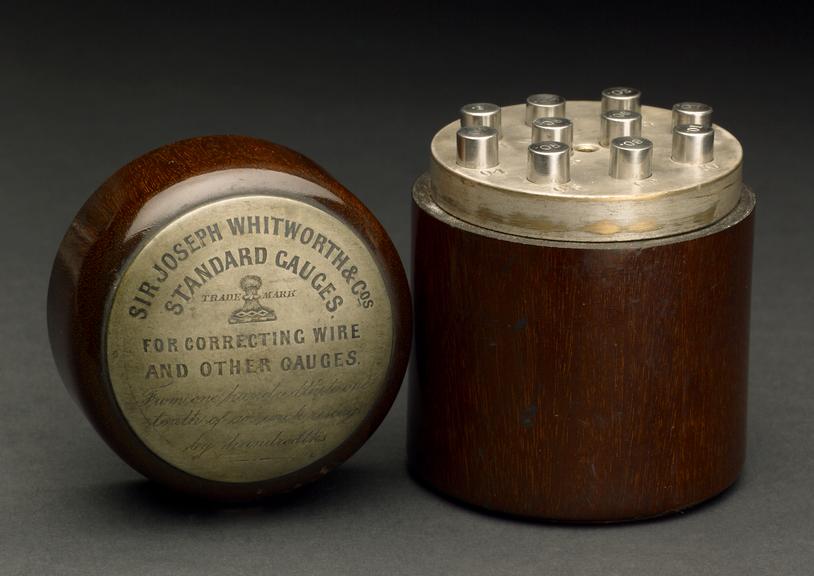
Whitworth standard gauges for checking and adjusting wire gauges, based on the Whitworth proposed standard wire gauge; range 0.1-0.01 inches. The gauge is the flat part of the round bar: the gauge measurement being the distance across the flat surfaces. The use or standardisation of the decimal system was proposed by Whitworth when he was president of the Institution of Mechanical Engineers 1856 to 1857: 'Paper on a standard decimal measure of length'. Following the standard procedure and logic at that time each gauge size serves to establish that wire size standard. The concept of tolerance or specification by limits of acceptability had not at that time been established. These decimal gauges were never accepted as a national standard. The number of his wire gauge corresponds with sizes in thousandths of an inch from 1 to 500 with logical increases in increment of 0.001 (for small sizes) to 0.025 for the larger end of the range.
Joseph Whitworth proposed the use of a decimal system of length measurement when he was President of the Institution of Mechanical Engineers. Although he adopted this system in his own works, it never became a national standard.
Details
- Category:
- Industrial Metrology
- Collection:
- Sir Henry Wellcome's Museum Collection
- Object Number:
- 1981-252
- Materials:
- steel (metal)
- Measurements:
-
9 x 6.5 cm
- type:
- standard gauge bars
- credit:
- On loan from the Wellcome Trust

