Monotype Epidiascope


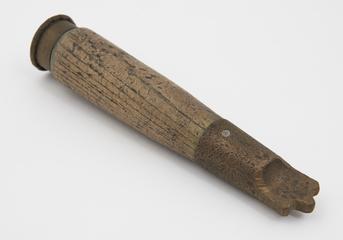
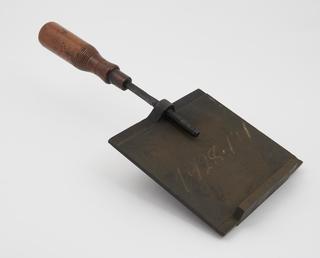
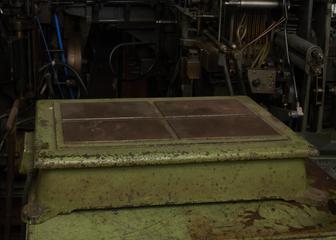
Monotype Epidiascope, Plant No. 479, part of the production system for Monotype matrices, for the comparison of a magnified image of the character impression in a 0.2" x 0.4" or 0.4" x 0.4" matrix with dimensional limits set out on a 25cm square reference screen or "glass" for the required typeface and size. Equipment for handling the matrices in a Monotype matrix case. Manufactured and used by The Lanston Monotype Corporation Limited.
There was an 82-stage process to make Monotype composition matrices for metal type. The last stage was the final inspection of matrices. Every matrix that The Monotype Corporation produced received a final inspection for size, position and character face imperfections. A matrix was put into an epidiascope fitted with a ground glass screen, known as a matrix measuring glass, made especially for that typeface and type size. The machine compared an image of the character impression magnified 50 times with the dimensional limits set out on the 25cm-square glass and the operator checked them against multiple measurements on a testing card.
The measuring glasses were prepared in the Type Drawing Office at the Monotype factory in Salfords, Surrey. Various horizontal and vertical lines were drawn in black ink to indicate body height, square alignment, capital square height, lowercase square height and the unit widths for the whole typeface. The lines were ruled on to the glass using a special-purpose ruling machine and a special ruling pen. The pen’s construction was similar to a standard ruling pen used in most drawing offices but was much more robust. The position of the pen was controlled across the glass by micrometer adjustments of 0.001in (0.00254cm) so that lines could be ruled to accurate spacing. Clearance lines were also traced on to the glass by hand using a standard mapping pen.
The Type Drawing Office prepared testing charts on pieces of card that provided measurements for position, height, width and weight of a character on a matrix. The relevant chart for each size of each typeface sat on a stand on the machine. They were used to read off a huge number of measurements to check that each matrix conformed to the right measurements and was identical with its counterpart. These measurements were expressed as the amount that a character was displaced from the appropriate square dimension. A small scale divided in segments of 0.05in was used to check the measurements.
Skilled operators could check many matrices in an eight-hour shift. After measuring the first one of a batch, they would move on to the next by using a lever located close to the screen. They could pass through the batch quickly, looking at the enlarged image to detect any issues. A different movement of the same lever could reject a faulty matrix immediately. The best epidiascope operators could detect deviations of 0.0001in (0.000254cm) and reject a matrix outside the permitted limits. This stage was very important in the maintenance of Monotype’s record for quality.
There was one measuring glass for every size of every typeface that Monotype produced. The Monotype Collection houses measuring glasses and two epidiascopes for checking 0.2-inch (0.51cm) and 0.4-inch (1.02cm) composition matrices. These are the only known items of their kind.
Details
- Category:
- Printing & Writing
- Collection:
- Monotype Corporation Collection
- Object Number:
- 1995-1587
- Materials:
- steel (metal), carborundum, nickel-plated brass (copper, zinc alloy) and leather
- Measurements:
-
overall: 1830 mm x 760 mm x 2360 mm,
- type:
- machines


