Measuring or Inspection Tool used by Monotype Corporation
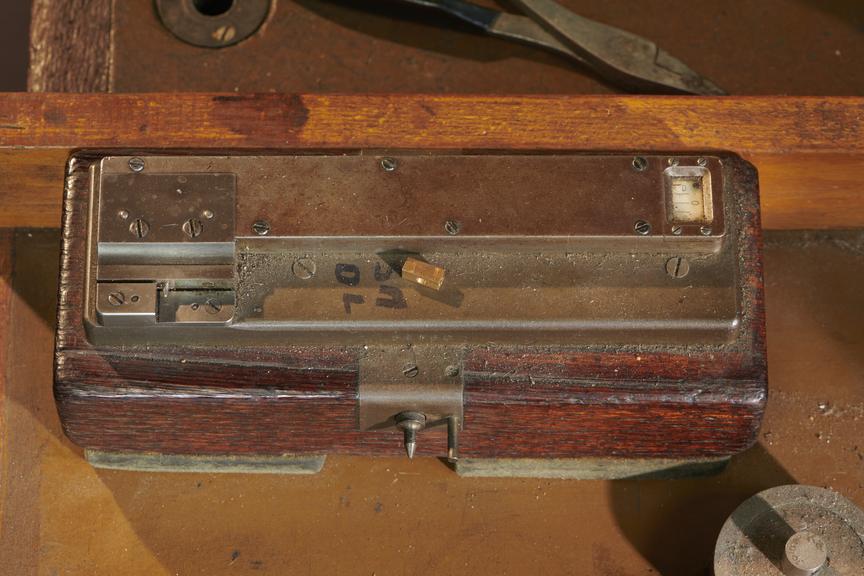
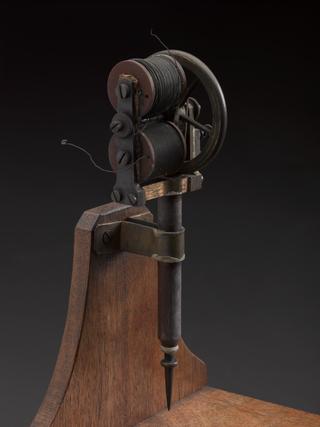
Measuring or inspection tool. Marked SM D.L. Part of Monotype Collection
This machine is one of many used in the process to make a 0.2-inch (0.51cm) or 0.4-inch (1.02cm) matrix. Some of the machines were designed at the Monotype factory in Salfords, Surrey, and other machines were purchased and adapted by Monotype.
There were 82 separate processes needed to transform a designer’s drawing of a letter, figure, punctuation or symbol into a piece of Monotype metal type for printing. A pantograph was used to trace and cut the letter from a copper pattern into a piece of steel called a punch. After being hardened, the punch was driven into a piece of bronze using a crank press to produce a matrix. The finished matrix was ready to go to the Monotype Composition Caster where molten metal was pumped through a mould against the matrix to produce a piece of type.
Details
- Category:
- Printing & Writing
- Collection:
- Monotype Corporation Collection
- Object Number:
- 1995-1509
- Materials:
- brass (copper, zinc alloy), metal (unknown) and wood (unidentified)
- type:
- measuring tool
